

There’s a reason chefs and health-minded eaters alike love microgreens. These delicate yet flavorful toppers are fast and easy to grow indoors, adding fresh color and texture to meals all year long. Despite their dainty appearance, microgreens bring big nutritional benefits to the table!
What Are Microgreens?
Microgreens are young seedlings of vegetables and herbs that are 2-4 weeks old. By this stage, the plants’ cotyledons—also called seed leaves—have fully expanded and the first true leaves are just beginning to form.
Why eat microgreens? They’re packed not only with punchy flavor, but also more nutrients than mature plants of the same species. A 2012 study published in the Journal of Agricultural and Food Chemistry determined that microgreen plants contain higher concentrations of essential vitamins and antioxidants.
Microgreens vs. Sprouts
The key difference between microgreens and sprouts is their age. Sprouts are grown and eaten–shoot, root and seed–after just 5-7 days; they do not have leaves yet. Microgreens are grown for a few weeks, and you eat their leaves and stems (not the roots or seeds).
Easiest Microgreens to Grow
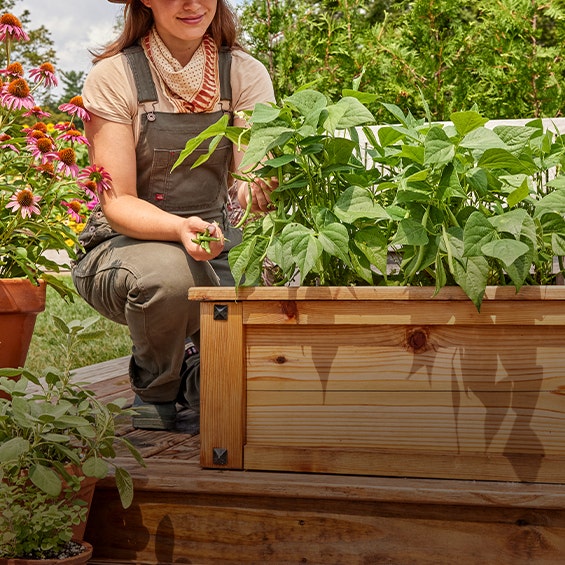
Start with a packaged blend of seeds—such as Burpee’s Microgreens Mix—or choose specific vegetables and herbs to grow and harvest as microgreens. You can also eat certain edible flowers as microgreens—sunflowers are a popular choice. Each plant’s microgreens have a distinct look and taste. Fast-growing radish microgreens delight with vivid red stems and spicy flavor, while peppery mustard microgreens stand out atop pearly white stems.
Try these easy-to-grow options:
How to Sow Microgreens
Starting microgreens indoors is simple and requires a short list of supplies: your choice of seeds, growing tray and growing medium. Here’s everything you need to know about how to grow microgreens.
Growing Tray
- Choose a container that is flat and shallow—at least ½" deep. A plastic watering tray works well.
- Avoid using seed-starting trays that have individual cells, as well as partitioned items like egg cartons.
- Make sure to sterilize your growing tray, especially when upcycling. Good DIY options include plastic berry containers and trays from store-bought mushrooms.
Growing Medium
Eco-friendly, organic coconut coir is perfect for growing microgreens. It’s light and fluffy and has great moisture retention, which promotes healthy seedling growth. To save money and space while storing, get a concentrated coir brick.
While you can use another seed starting formula, keep in mind that soil mixes may contain fertilizer and compost that can impact the taste of your microgreens.
Indoor Sowing
- Fill tray with a thin layer of seed starting formula, such as coconut coir.
- Scatter seeds to cover the tray, or sow evenly and thinly in rows 2 inches apart.
- Press seeds into the soil to make good contact. Mist the seeds.
- As soon as seedlings emerge, provide plenty of light on a sunny windowsill or grow seedlings 3-4 inches beneath fluorescent plant lights turned on 16 hours per day, off for 8 hours at night. Raise the lights as the plants grow taller. Incandescent bulbs will not work for this process because they will get too hot. Most plants require a dark period to grow, so do not leave lights on for 24 hours.
Outdoor Sowing
Growing microgreens indoors allows you to better control the environment for the fragile seedlings; however, if you opt to sow outdoors, consider the following:
- Microgreens may take longer to grow outside.
- Make sure to sow in a weed-free area where the soil is loose.
- Keep the soil evenly moist.
- You can start a new crop every week until the temperatures are staying above 85 degrees. Grow again in the fall when the weather is cooler.
Microgreen Growing Tips
Follow these pointers to create ideal conditions for your microgreens:
- Provide adequate light and air circulation.
- Keep seedlings moist but do not overwater. Too much moisture—combined with soils and air temperatures above 68 degrees F—can cause a common fungal problem called “damping off,” when the seedling emerges and appears healthy but then suddenly wilts and dies.
- Keep plants clean of soil and dirt.
- Avoid using a heat pad to grow microgreens indoors. They will sprout in most house temperatures and a heat pad may cause them to grow too quickly if they are left on it after sprouting.
- Do not fertilize the plants. The plants don’t need fertilizer, and it can give your microgreens an ‘off’ taste.
- Thinning is not necessary for microgreens because the plants are not growing to maturity.
Microgreen Harvesting and Storage
Harvest microgreens when they are between the sizes of a sprout and a baby leaf vegetable, usually when the cotyledons (seed leaves) have expanded and the first 2-3 true leaves have started. Clip young leaves at the base of seedlings around 2 inches high with clean scissors.
Before eating microgreens, rinse thoroughly and lightly pat them dry. You can store microgreens in sealed plastic bags in the refrigerator.
Note: Most microgreen plants will not resprout after you clip them. Replant after harvest for more batches of nutritious microgreens!
Ways to Eat Microgreens
These versatile little greens enhance many dishes with their flavors, textures, colors and nutrients. Here are a handful of serving suggestions:
- Add to sandwiches, burgers and wraps.
- Top off your salad or savory morning toast.
- Sprinkle onto a favorite pasta dish or soup.
- Try them in your tacos or stir-fries!
- Blend into pestos, salsas and smoothies.
- Garnish desserts such as fruit tarts and galettes.