How to Thin Seedlings
The Importance of Thinning
When embarking on the journey of cultivating plants from seeds, one must recognize the significance of the practice known as thinning. Thinning, in essence, entails the deliberate and thoughtful removal of excess seedlings that have sprouted in close proximity. This horticultural technique is grounded in the principle of granting the most robust and vital seedlings the space they require for their root systems to unfurl and flourish unencumbered. By conscientiously thinning out the surplus seedlings, the aspiring plants that remain are endowed with the precious opportunity to establish a foundation of optimal root growth, which ultimately serves as the bedrock for their overall health and future development.
Watch the best way to thin seedlings – all you need is a pair of scissors!
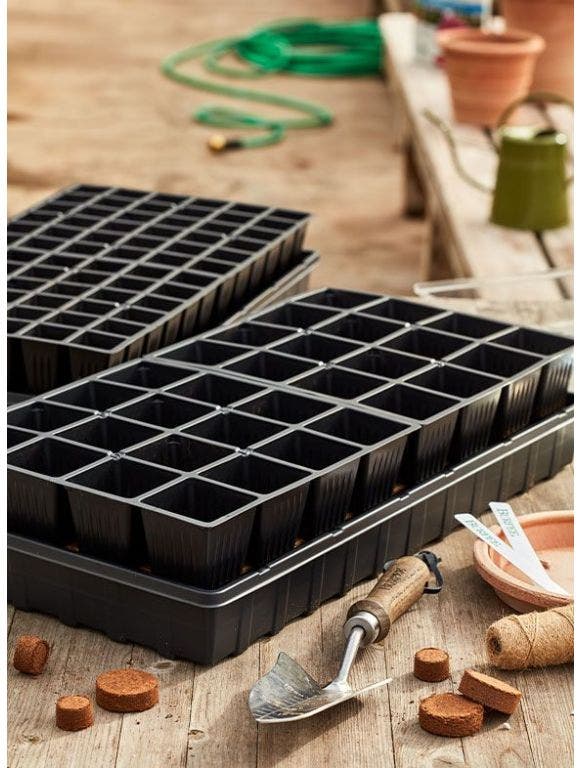
Step 1: Recommended spacing
Check your Burpee seeds packet to make sure you thin plants according to the recommended spacing. Plants that are grown too close together will compete for sunlight and nutrients, making it difficult to grow productive plants. Some veggies require lots of space between plants, while others only need an inch or two. Each Burpee seed packet will have instructions on how to achieve success with your growing journey. Thinning will give your planting area extra space, but it doesn’t take long for the plants to fill in those gaps.


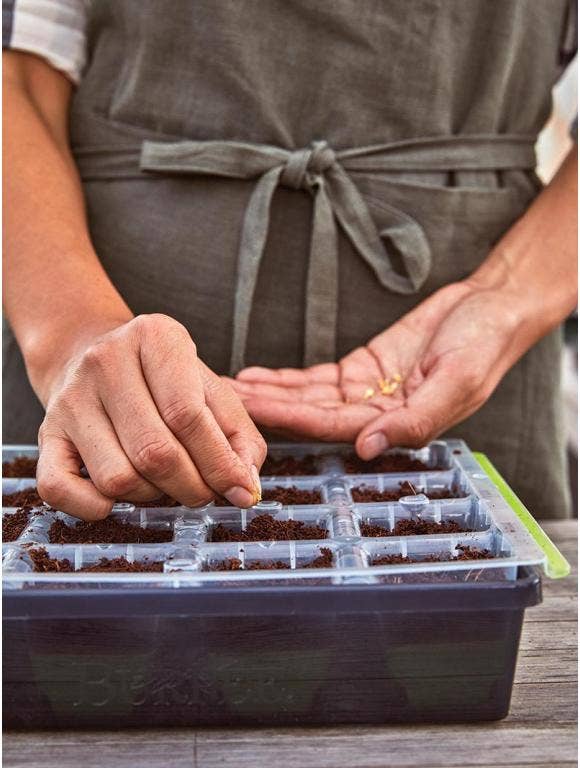
Step 2: When is it ready to start thinning?
If you're new to gardening, you may not know when to start thinning your seedlings. You should thin seedlings when they have 1-2 sets of leaves. The first set of leaves that form are called cotyledons, which appear like the leaves of other plants, while the second pair of leaves are known as true leaves. True leaves have the unique look of whichever plant you’re growing.


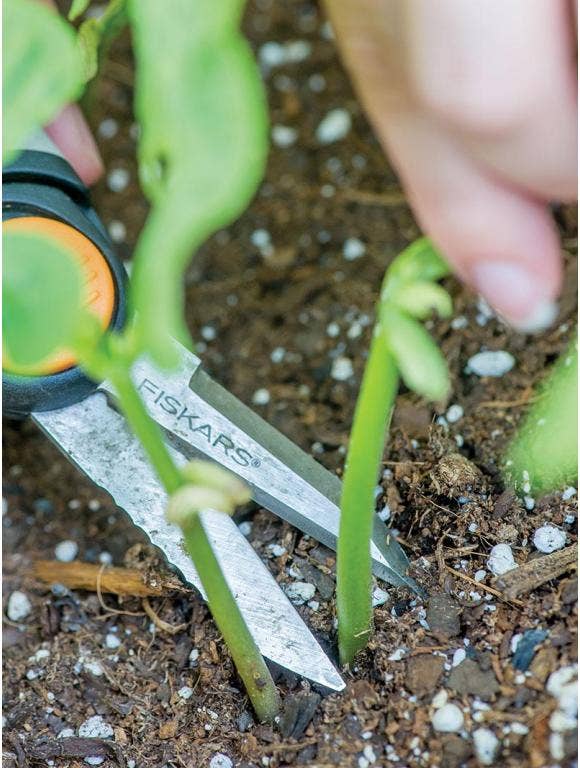
Step 3: Start thinning seedlings
Now that your seedlings have 1-2 sets of leaves use sheers or scissors to snip weak or crowded seedlings at the soil line. As you’re going through the plants, you may notice some plants appear stronger. It’s best to keep the strong plants and remove the smaller or weaker seedlings to maximize your harvest.
Snipping, rather than pulling, ensures you don’t damage the roots of the remaining seedlings. You can add the tops of the seedlings to a compost pile or eat them if they’re safe to eat. If you have extra space, you can carefully remove the extra seedlings and plant them in other parts of the garden. Just make sure to not disturb the roots of the other seedlings as you’re pulling out the extras.


That’s all there is to it! Use this same method, whether thinning indoors or outdoors.
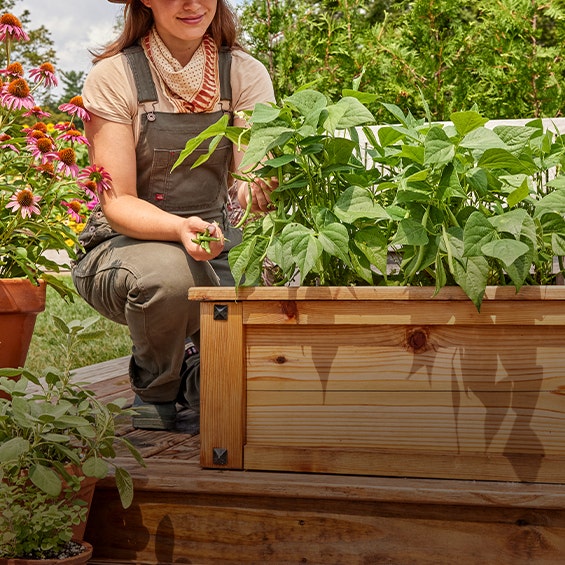
When it’s time to transplant indoor-started plants into the garden bed, make sure to harden them off – check out this how-to video!
When it’s time to transplant indoor-started plants into the garden bed, make sure to harden them off. Learn how.