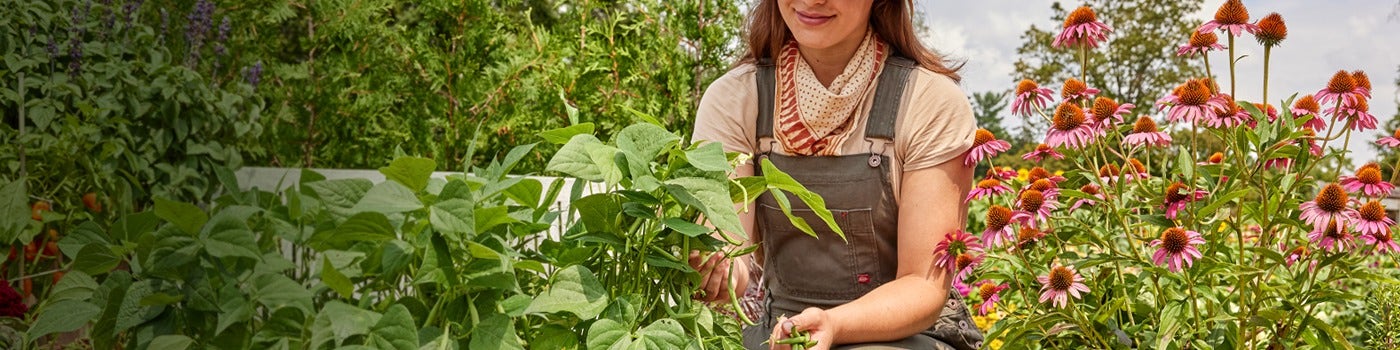
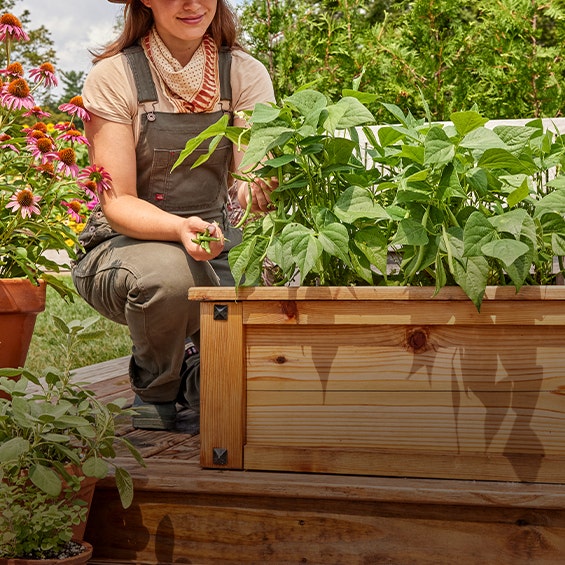


Planting from seed is a gratifying process, but certain seeds require a longer growing period than the length of summer in your region for a successful garden. Seed starting inside gives you a jump on the growing season so your plants have enough time to mature and flower or produce fruit before the first frost. Follow this guide to learn how to start seeds indoors.
Choosing the Right Seeds
Before you start buying seeds, you'll need a growing plan. If you plan on growing perennials, first, determine your garden growing zone and learn which plants will thrive in your region — most annuals can be grown in any zone. Next, consider your garden's conditions. How large is your space, and how much room will those seeds require when they grow into mature plants? How much sun does your garden receive throughout the growing season? Most vegetables and many ornamental flowering plants need at least six hours of full sun daily. You'll also want to review the recommended growing directions for the specific seeds you have in mind. Certain crops don't transplant well and do best when sown directly. Keep these points in mind as you decide which varieties to buy for seed starting to help ensure a thriving garden.
Gathering What You Need to Start Seeds
You'll need a few items for success with seed starting:
- Growing containers: Seed starting trays, biodegradable fiber plant pots or other shallow containers with good drainage are all great options. If you reuse plastic pots or flats, be sure to clean them to avoid pests and diseases.
- Growing medium: A seed-starting mix that's light, fluffy and pH-balanced works best.
- Cover: A plastic humidity cover will help keep the plants and soil warm and provide constant moisture.
- Water tray: Place your containers in a waterproof tray, which allows you to add water from the bottom so the seeds aren't disturbed.
- Growing lamp: If you don't have enough access to sunlight indoors, a grow light can help provide the daily light your seedlings need to grow.
- Labels: It might seem trivial, but labeling your seedlings is critical so you can identify your plants when they're ready for transplant.
Deciding When to Start Seeds
Deciding when to start seeds indoors will depend on the seeds you select and your growing zone. Check the seed packets for "days to germinate" and how many weeks of growth each variety of seedlings needs before being transplanted to the garden. Then, count backward from your area's last frost date. You don't want to start too early, or your seedlings may grow weak and leggy.
Learning How to Start Seeds Indoors
Plant seeds according to packet directions. Label each container with the plant name, variety and sowing date, then loosely cover the container to hold in humidity while allowing for air circulation. Bottom warmth (75 to 85 degrees Fahrenheit) helps seeds germinate. Set trays on a seedlings heat mat to generate consistent temperatures. Once the seeds have sprouted, you can remove the cover. Keep the soil moist but not soggy.
After the seeds germinate, they need light. A sunny south-facing window works best. If you don't get enough natural light, use a grow light for 16 hours a day. Position the lights 3 to 4 inches above the seedlings, and adjust upward as the plants grow.
Transplanting Your Seeds
Some seedlings may require transplanting into larger pots to give them room to grow and develop their root systems. Use the same growing mix as for seeds. Handle the baby plants gently by their leaves, not stems or roots, and try to keep the tiny rootballs intact as you move the plants to their new pots. Poke a hole in the moistened mix with your finger, place the seedling in the hole and gently pat the mixture around it. Water as before, and provide plenty of light and gentle air circulation.
Hardening Off Plants
Young plants require hardening off before you can transplant them into your outdoor garden. That means gradually adjusting them to the outdoors by setting them out in a sheltered, shady spot for a few hours a day. Each day, increase the time and light exposure. Keep them watered, as small pots will dry out quickly outdoors. After a week to 10 days, plants should be ready to be transplanted into the garden. Be sure to watch the weather for any frost predictions and choose the right time to start the process.
Starting seeds indoors allows you to enjoy a thriving garden no matter where you live and how long your spring and summer seasons last. It also expands your growing possibilities, as more varieties of seeds are available than young plants for sale.
To learn more about starting seeds, check out more of Burpee's guides to seed starting or

Written by Shahrzad Warkentin
Shahrzad Warkentin is a writer and seasoned gardener, with over 12 years of experience. Besides her own home garden, she helps manage her kids' school garden.